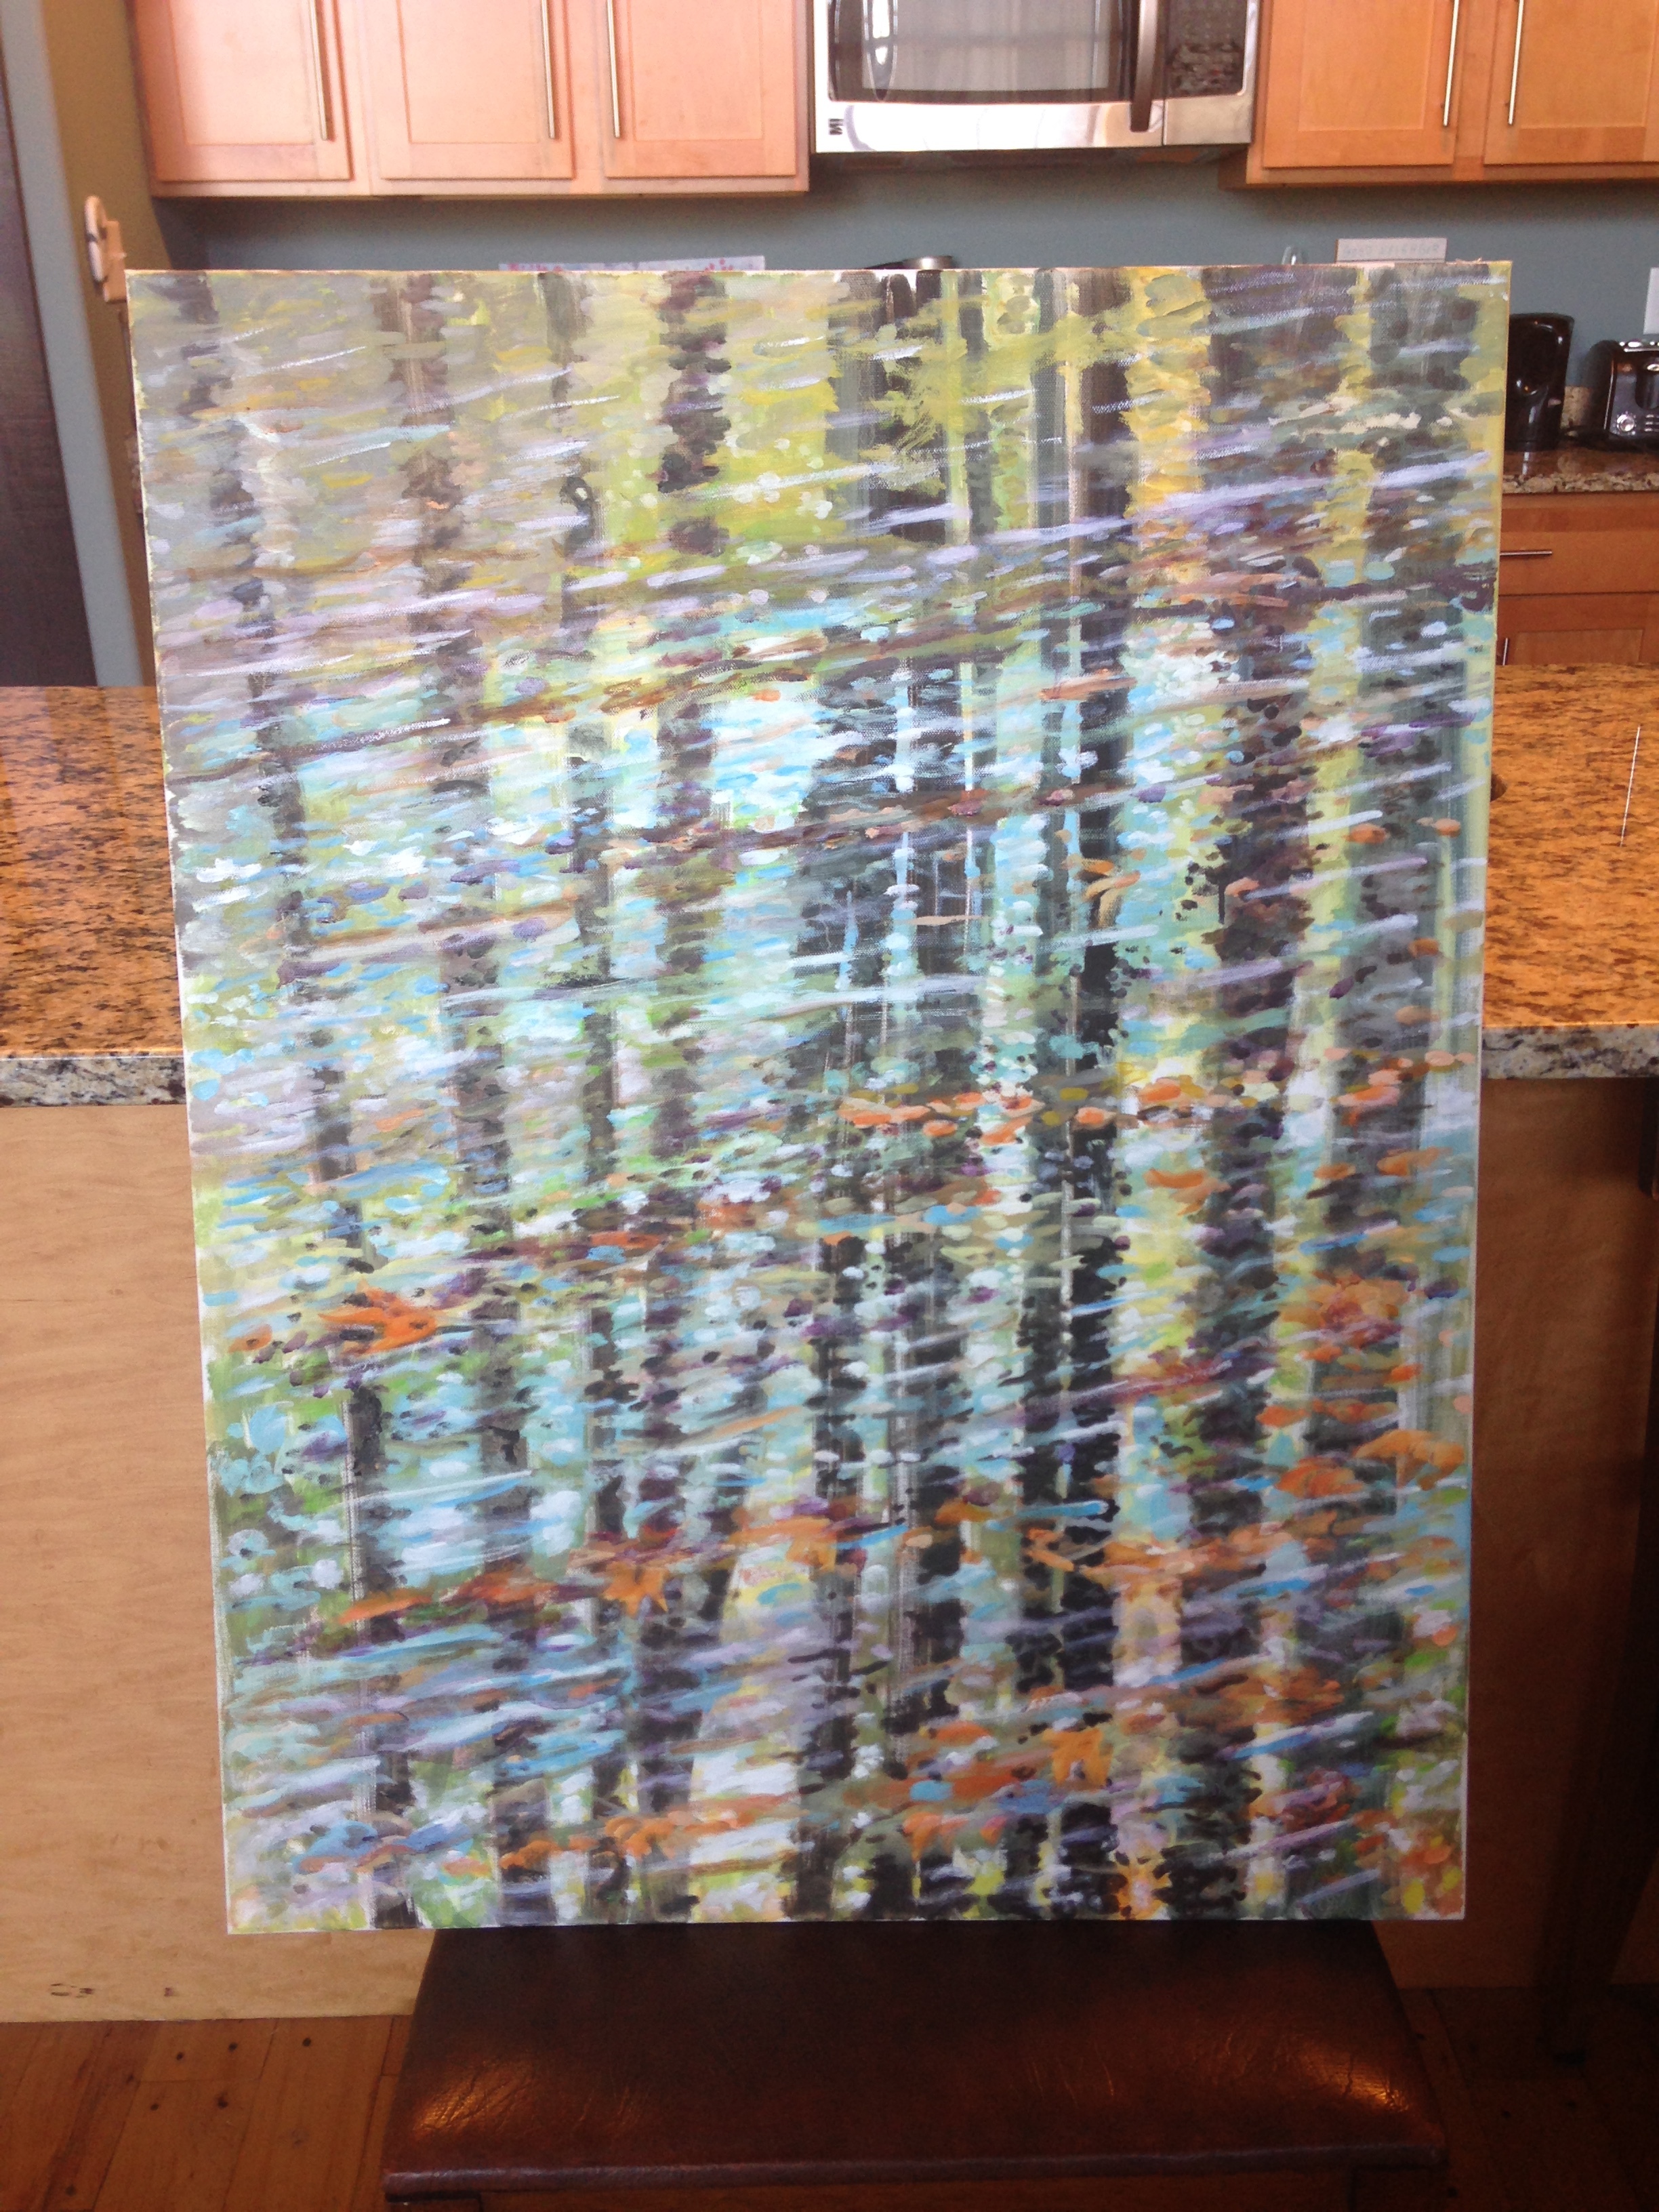
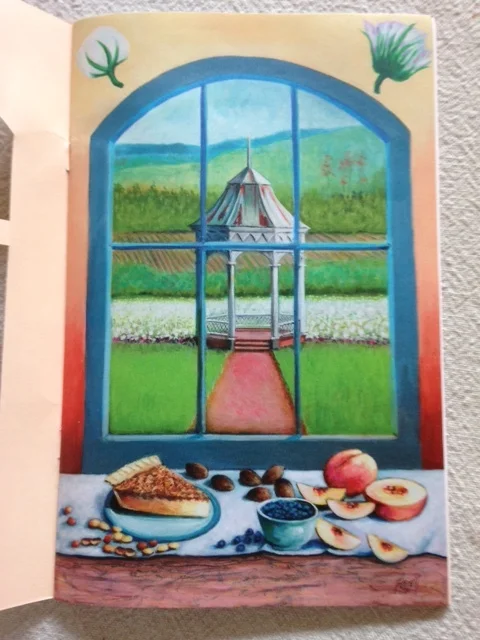
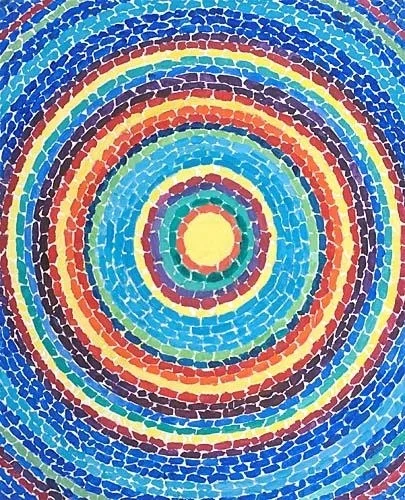
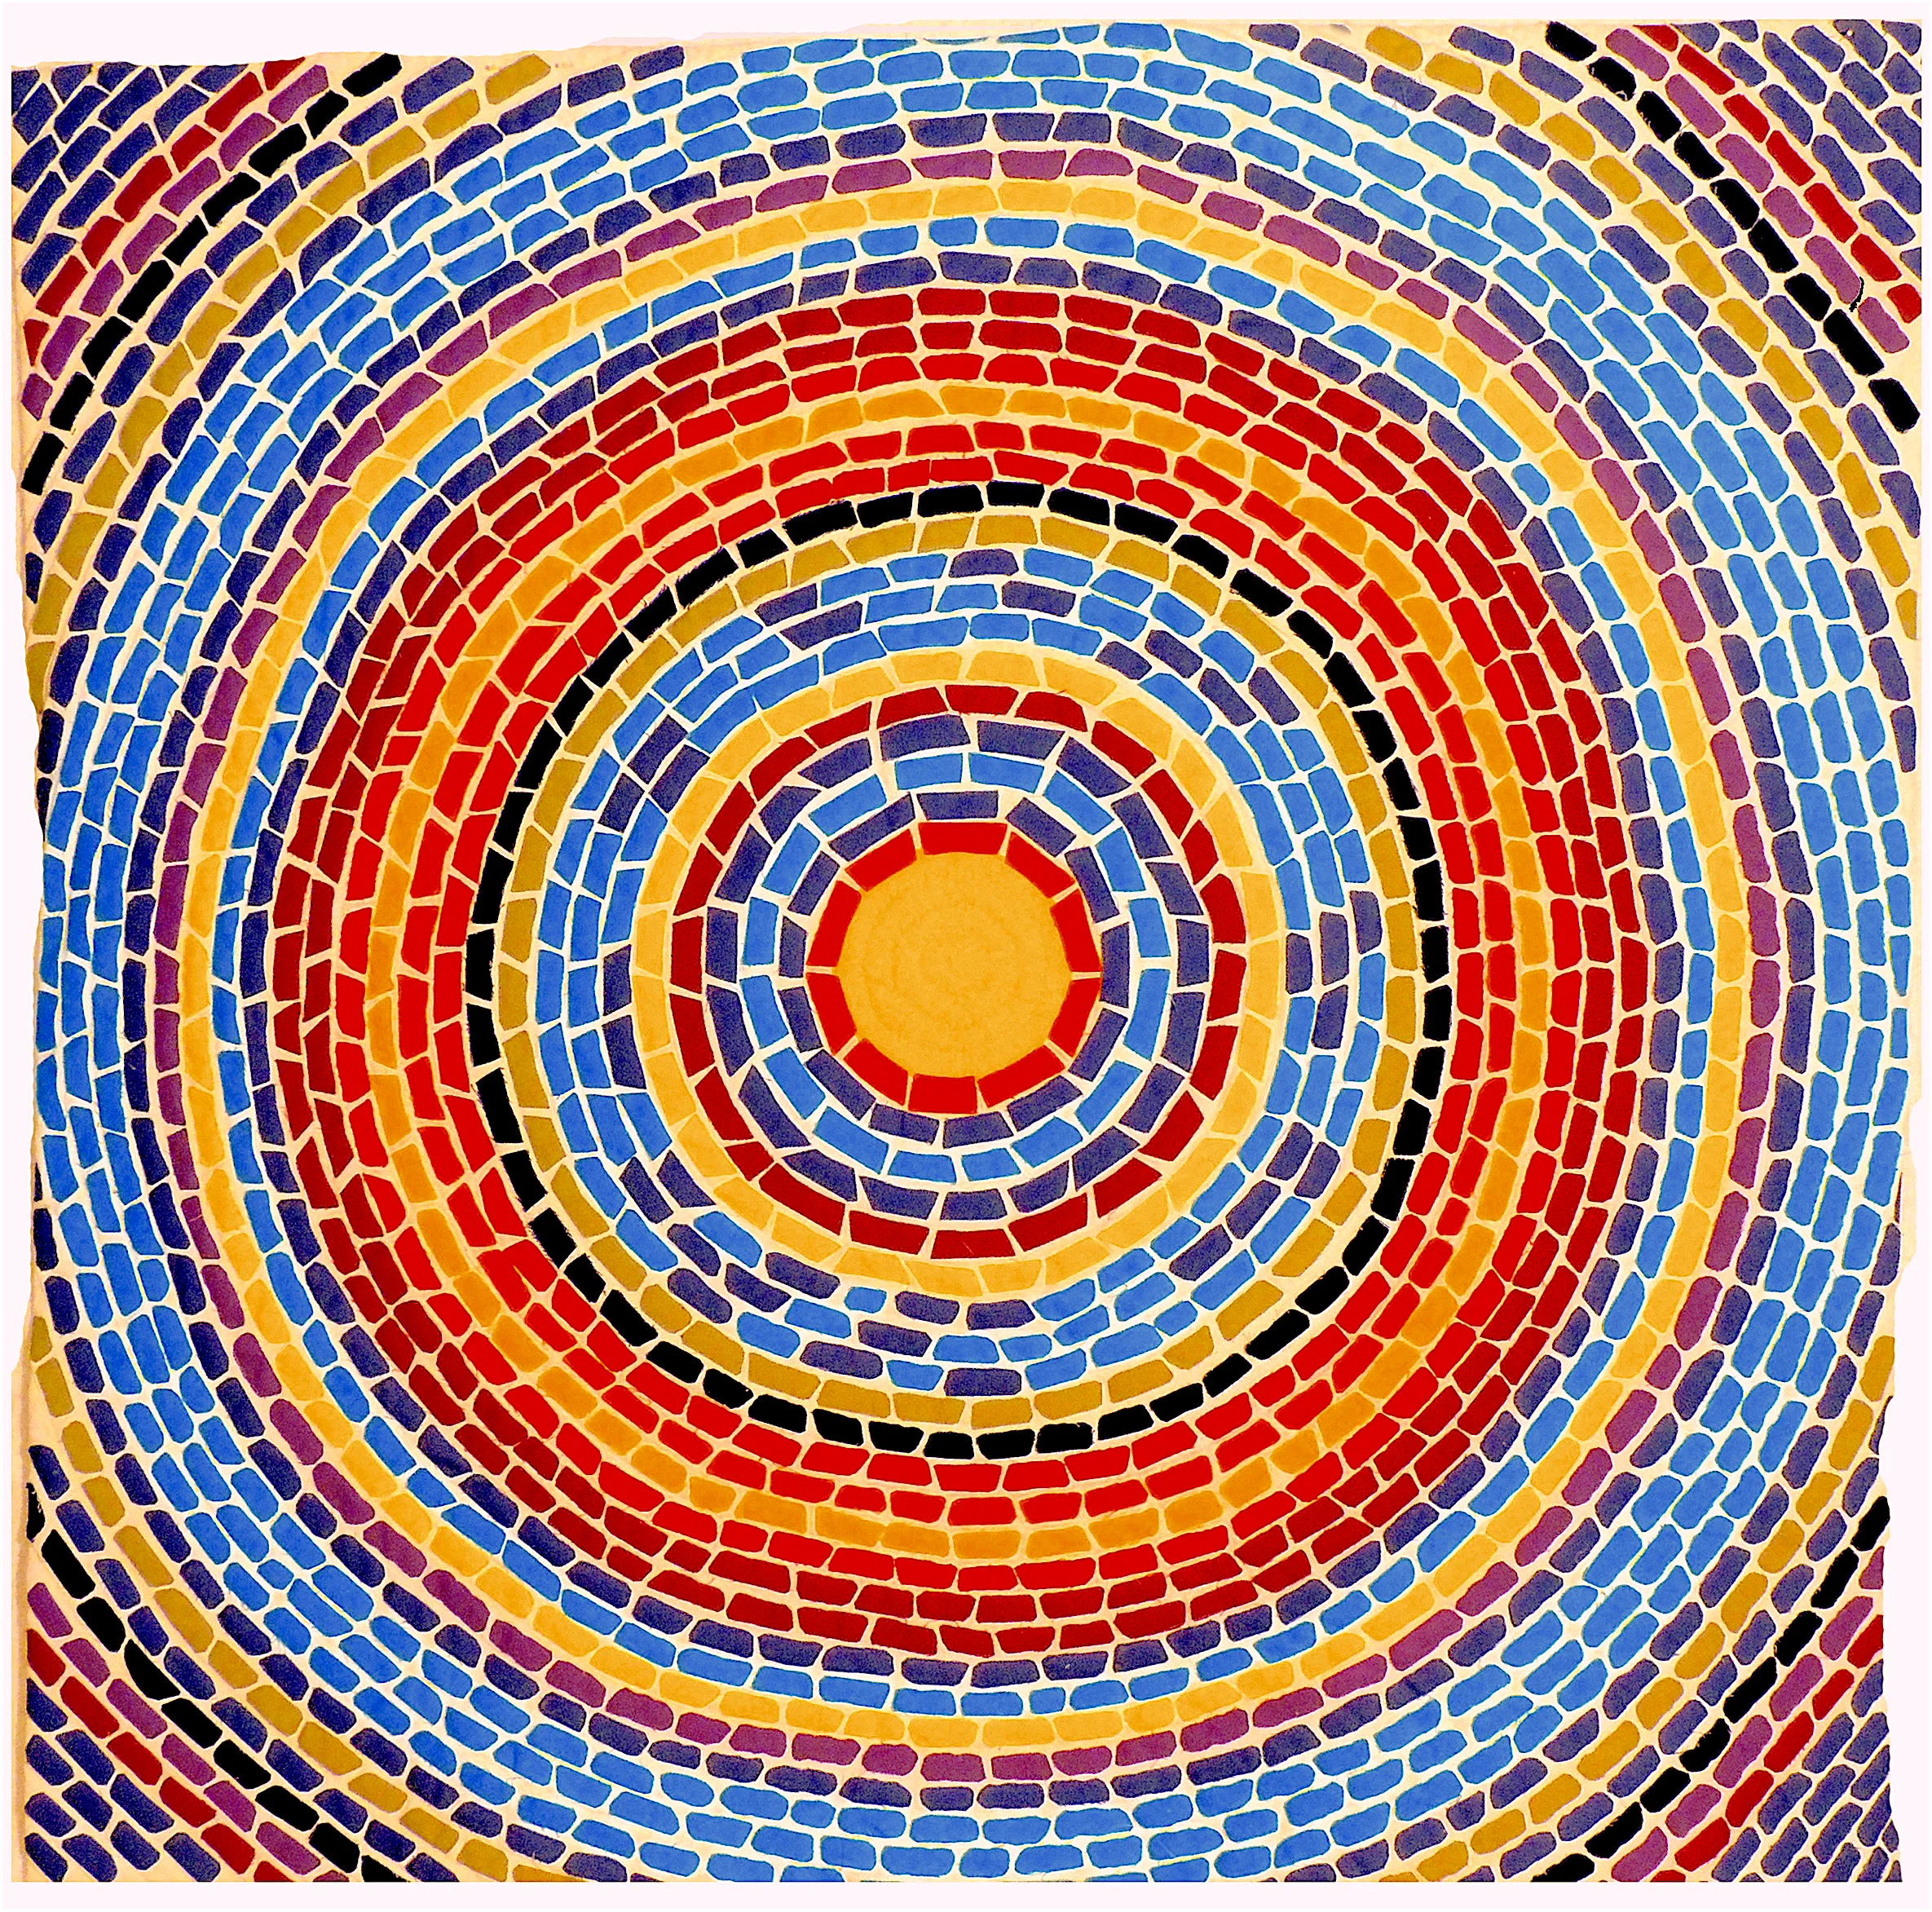
Our understanding is that the painting will be auctioned with the proceeds going to a charitable cause.
Now to the event -- Actually there were three events, or three stages to the event. But we didn't know that until we arrived. We had been told that there would be about 1500 folks at the luncheon. We were not at all sure how or even whether we would actually get to meet the First Lady. But that was okay. We were just happy to be in attendance and to have had the opportunity to make things for her.
As instructed, we arrived at the Washington Hilton at 10:30 AM. "We" was Fred; our daughter, Coulter; and myself. Lots of dressed up women, and a few men, were gathering there in the lobby. Some of them wore nametags with names that I recognized -- McGovern, Ryan, Kennedy, Gingrey, Lott, Reid, Pelosi (Mr. Paul, who, I gathered, is a popular and well-liked character).
We approached a table to check ourselves in, and that's where we learned that we had tickets to a VIP pre-event reception. Boom, yeah! At about 11:00 the doors to the VIP Reception were opened and we made our way into a room where about a hundred people gathered. Word was that Mrs. Obama would likely arrive shortly. But she didn't. As time for the big event drew near, we were told that the First Lady had been delayed by a security issue, and that she likely would not be present in time for the VIP reception.
At the very last few minutes before the big event, though, Event Chair Vivian Creighton Bishop went to the microphone and announced the names of a few people who were to go to a certain door. Our names -- mine and Fred's -- were called!
Is this becoming too tedious? Hope not, 'cause we're just gettin' to the good part. Fred and I followed Mrs. Bishop's instructions and were rushed -- yes, RUSHED -- into a small backstage room where three small groups of people were already waiting. One group was the twelve or so teenage girls, all dressed identically, who were the "Junior Hostesses" for the event. I learned that they were the daughters and granddaughters and great granddaughters of former members of Congress and government officials. One was the great granddaughter of the Honorable Thurgood Marshall! (I learned this later from the printed program.)
The second group gathered there in the little backstage room was the luncheon planning committee -- a group of about twenty lively and animated women who all seemed to know each other.
The third group was us -- the group of eight folks, six from Columbus, Georgia, who had, at the request of the luncheon committee, brought special gifts for the First Lady.
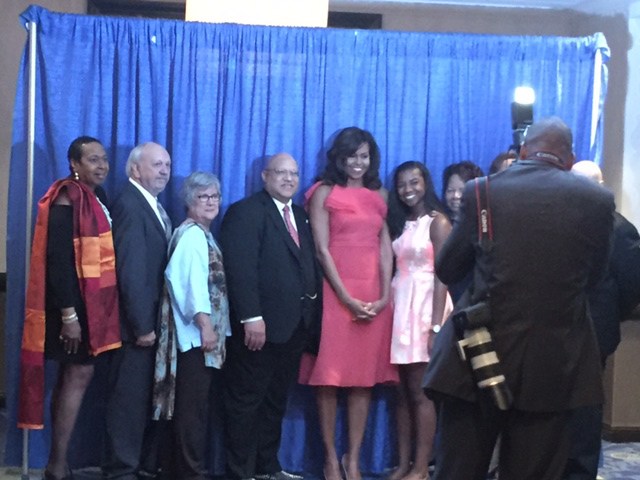
The three groups of us were firmly but politely put into position for three group photographs, with a spot for Mrs. Obama in each grouping.
For about three minutes we stood there nervously awaiting her arrival. All of a sudden two Secret Service agents entered and stood on either side of the entrance, and then Mrs. Obama herself appeared in the door. She was wearing a bright orange chiffon dress and looked absolutely radiant. She went around the room, one group at a time, shaking hands with and having a few words with each person before she posed for a photo with the group. Our group was last.
What struck me most about Mrs. Obama was her warmth and her energy, both of which she exuded in abundance. Though she only had time for a handshake and a few words with each of us, she focused on each person individually as she went down the line. She seemed to relate particularly to the teenage girls, several of whom she hugged, including B.J. Chipman in our group, who had painted a portrait of Malia and Sasha to give to Mrs. Obama.
This backstage event lasted only about ten minutes. After all the individual greetings and the three group photos, Mrs. Obama and her entourage left the room, and we rushed to our places in the grand ballroom for the main event -- the luncheon.
As far as I was concerned, though, the main event had already occurred. I was deeply moved to have been in the presence of Michelle Obama.
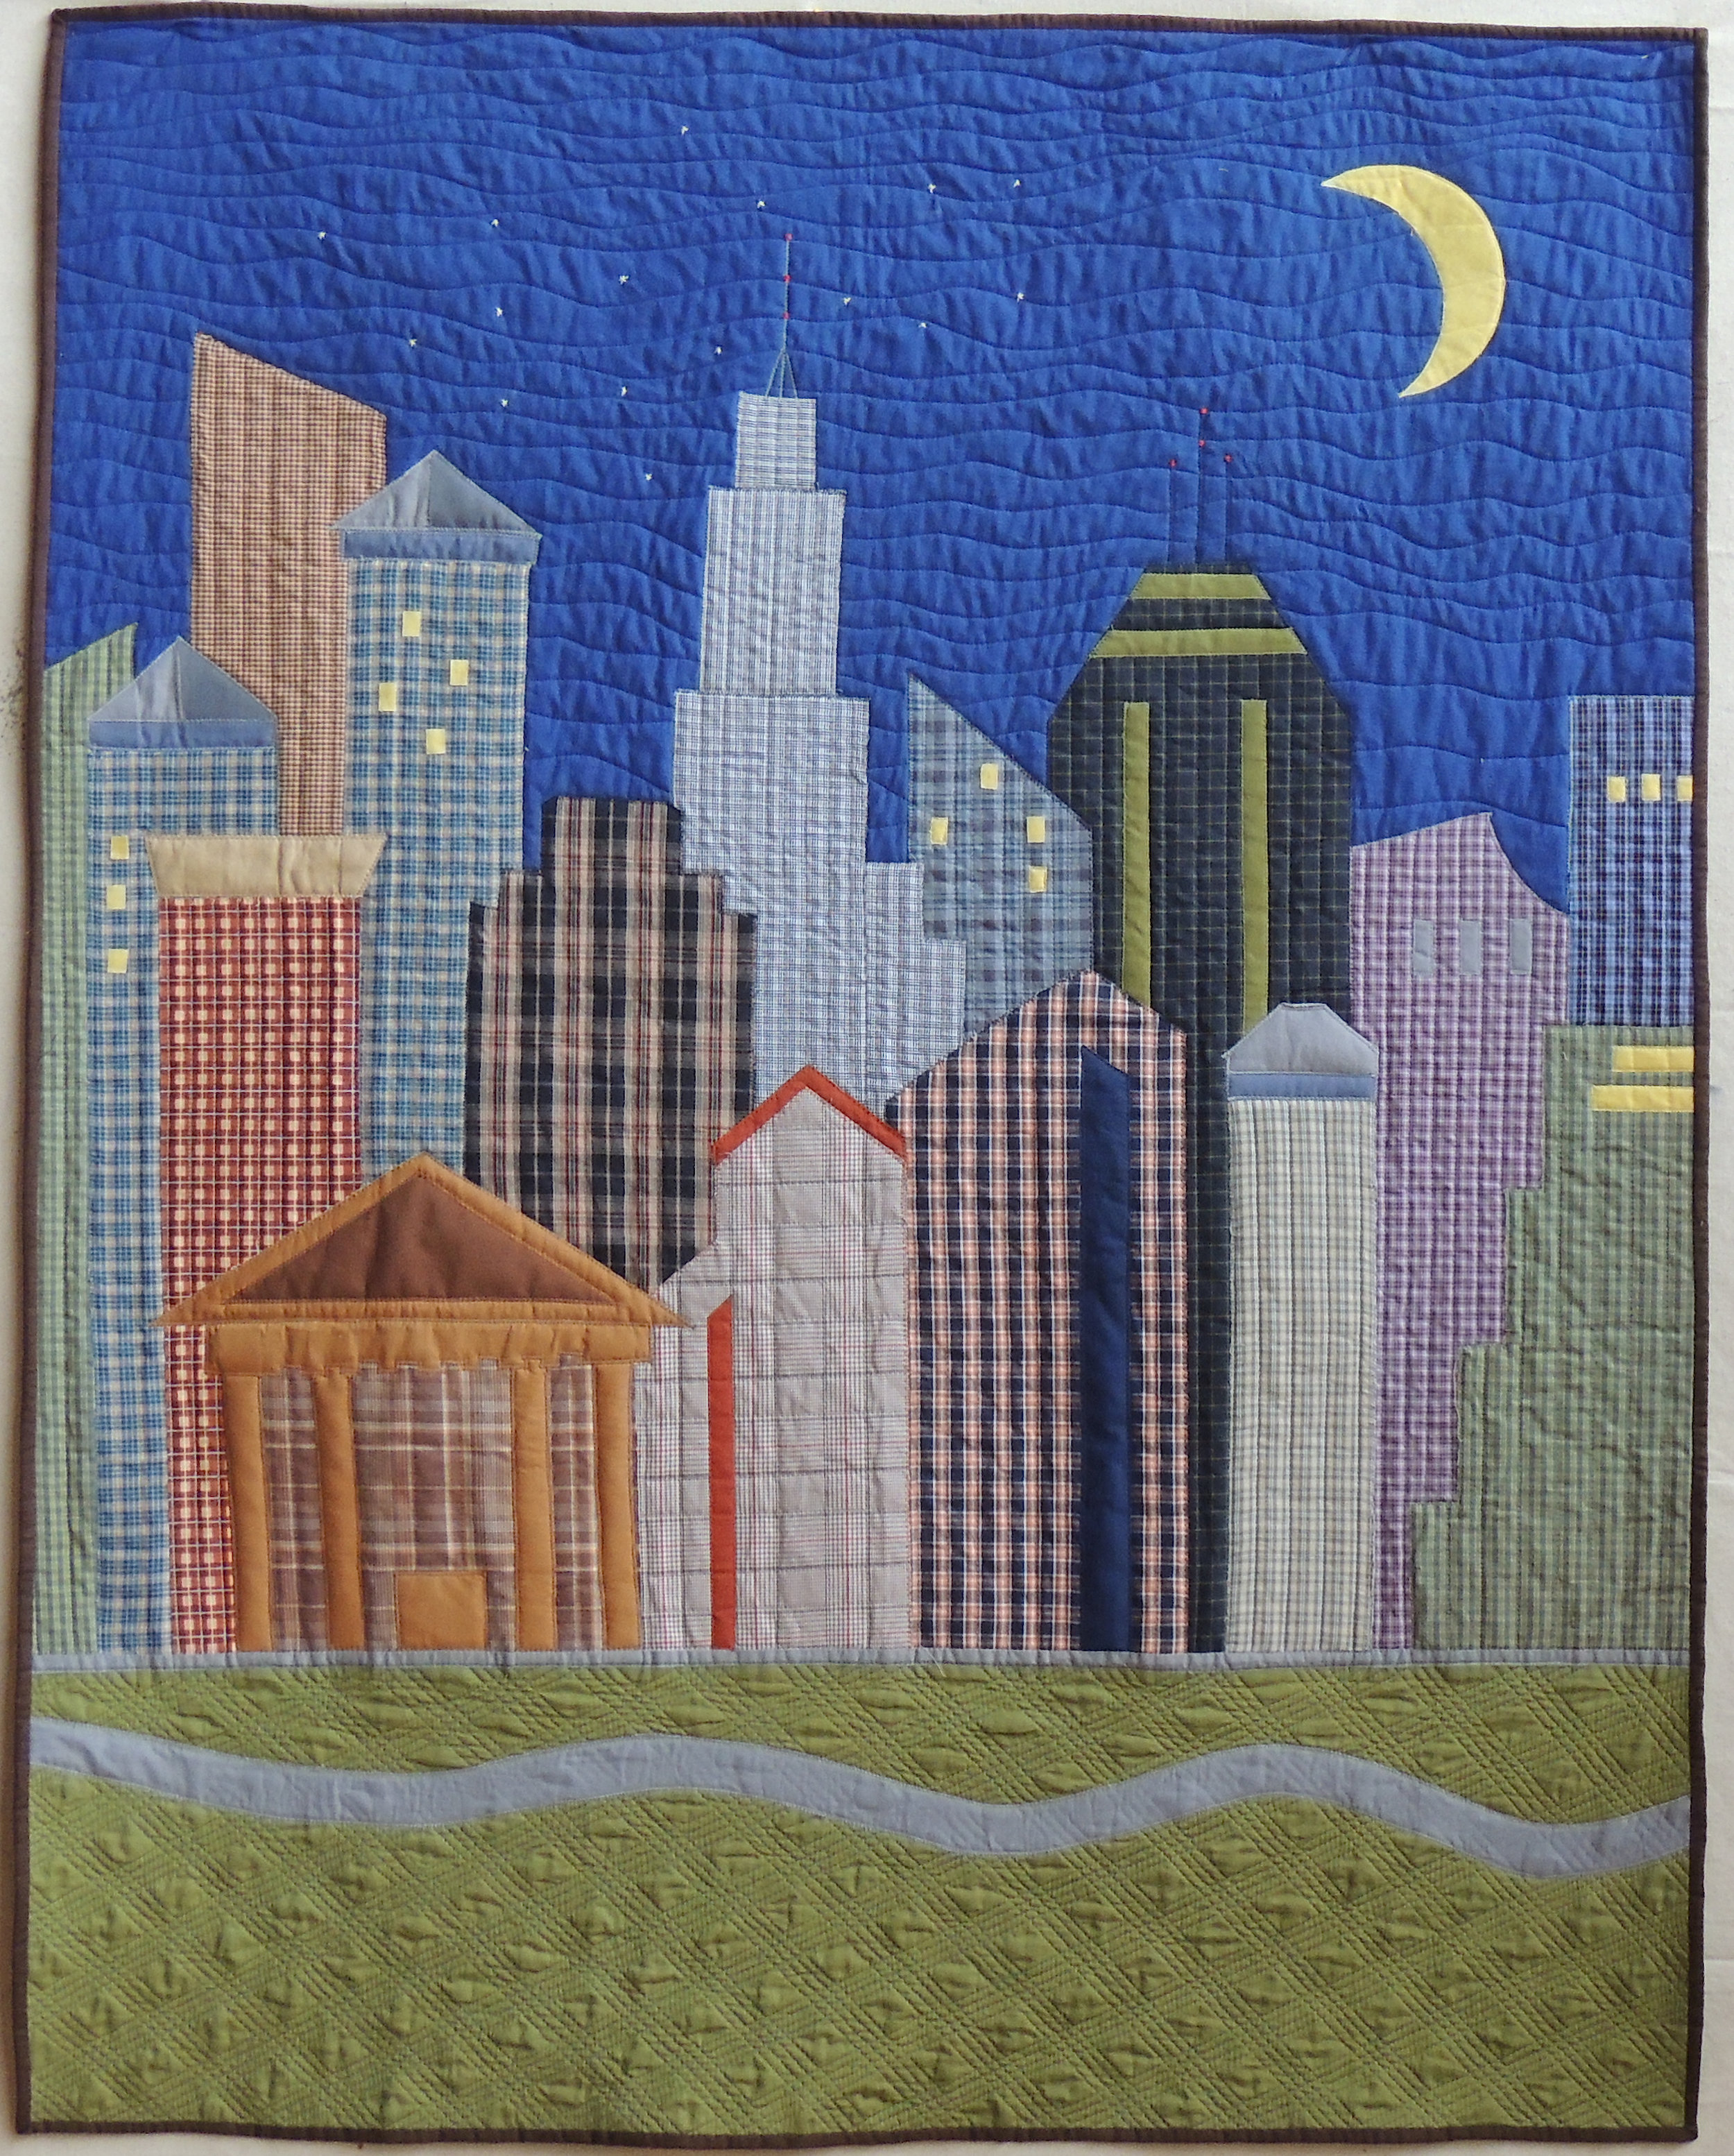
Okay -- Now to the luncheon -- About 1500 people were seated at round tables in this giant ballroom with a raised runway down the middle, an entrance area on one end and the head table on the other. Huge tv screens surrounded the room, so that if your sight line wasn't perfect for the head table, you could watch one of the monitors. Before the program started, and at intervals throughout, Fred's painting was featured on the screen -- over and over again, for everybody to see! That was really exciting for us.
The whole Georgia delegation, of which we were a part, was seated directly in front of the head table -- down front and center! Representative Sanford Bishop was back-to-back with me, so we chatted and shared excited reactions from time to time. He was recording the whole thing on his iPad, and it was obvious that he was very proud of Vivian and the tremendous job she and her committee had done with the event.
I would describe the luncheon itself as a cross between a huge sorority party and a military gala -- as if I've ever attended either -- ha!
Vivian Creighton Bishop presided and introduced a whole slew of distinguished guests, many of whom were escorted down the runway by uniformed military personnel.
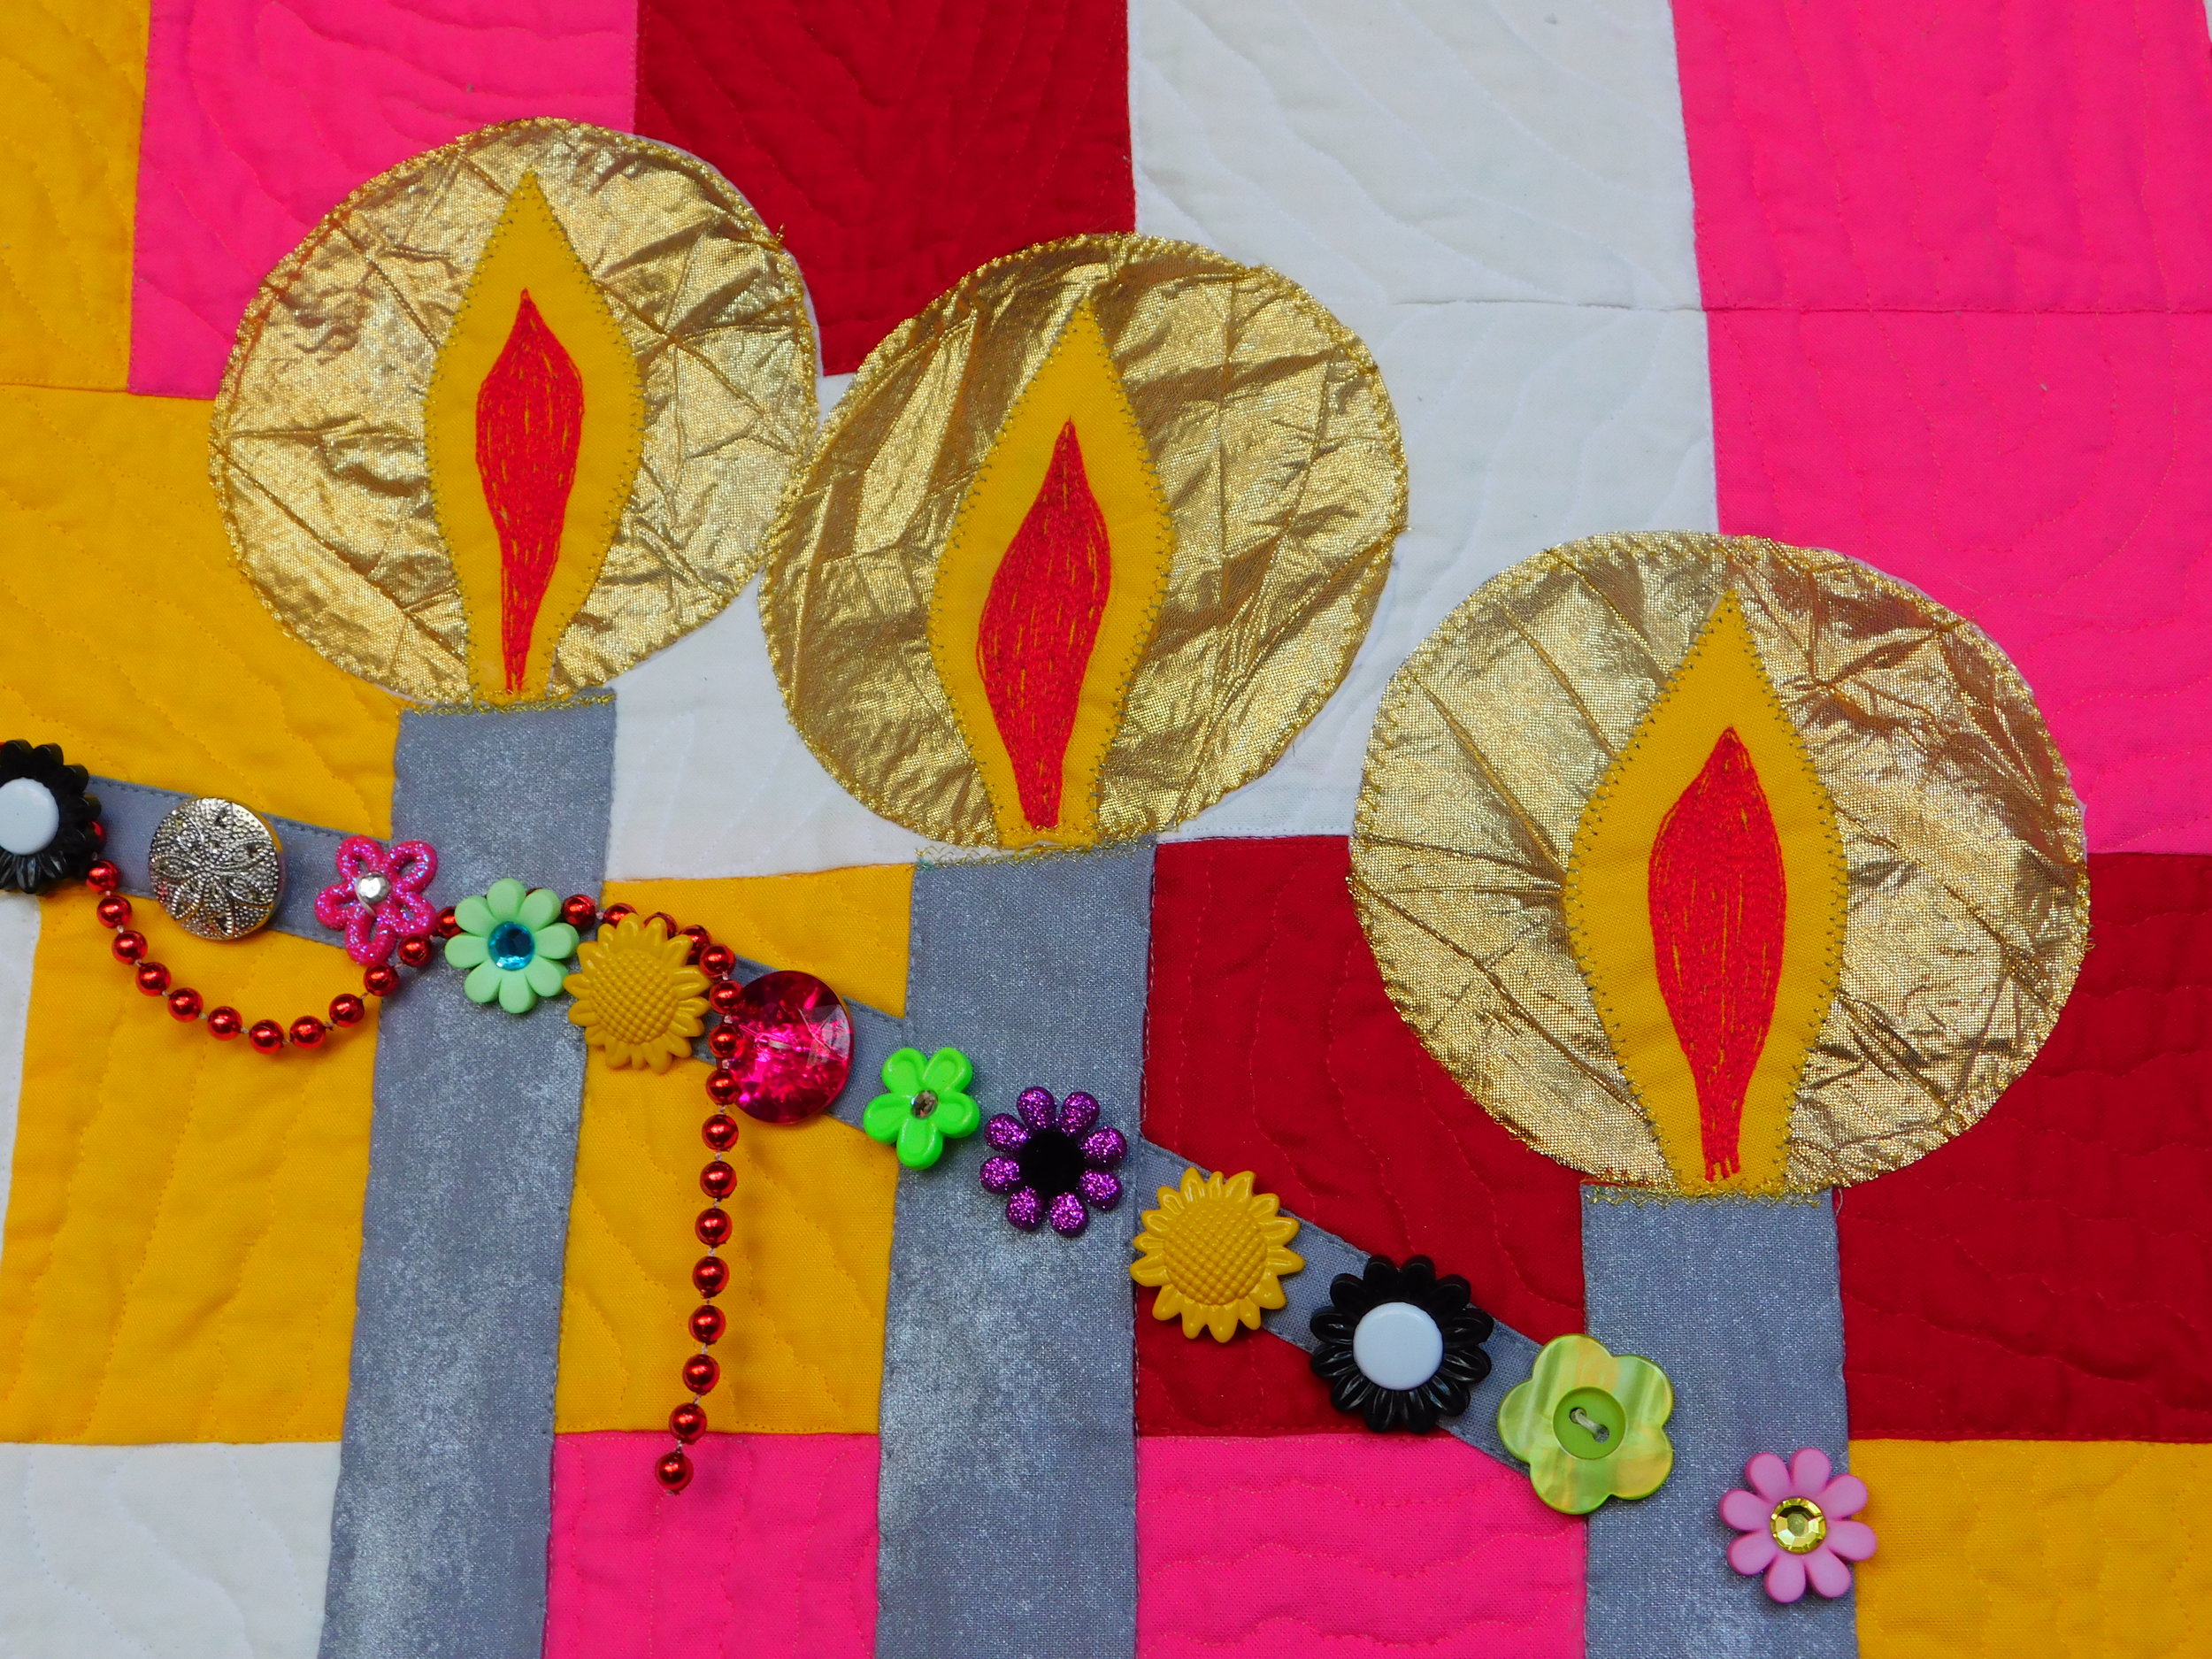
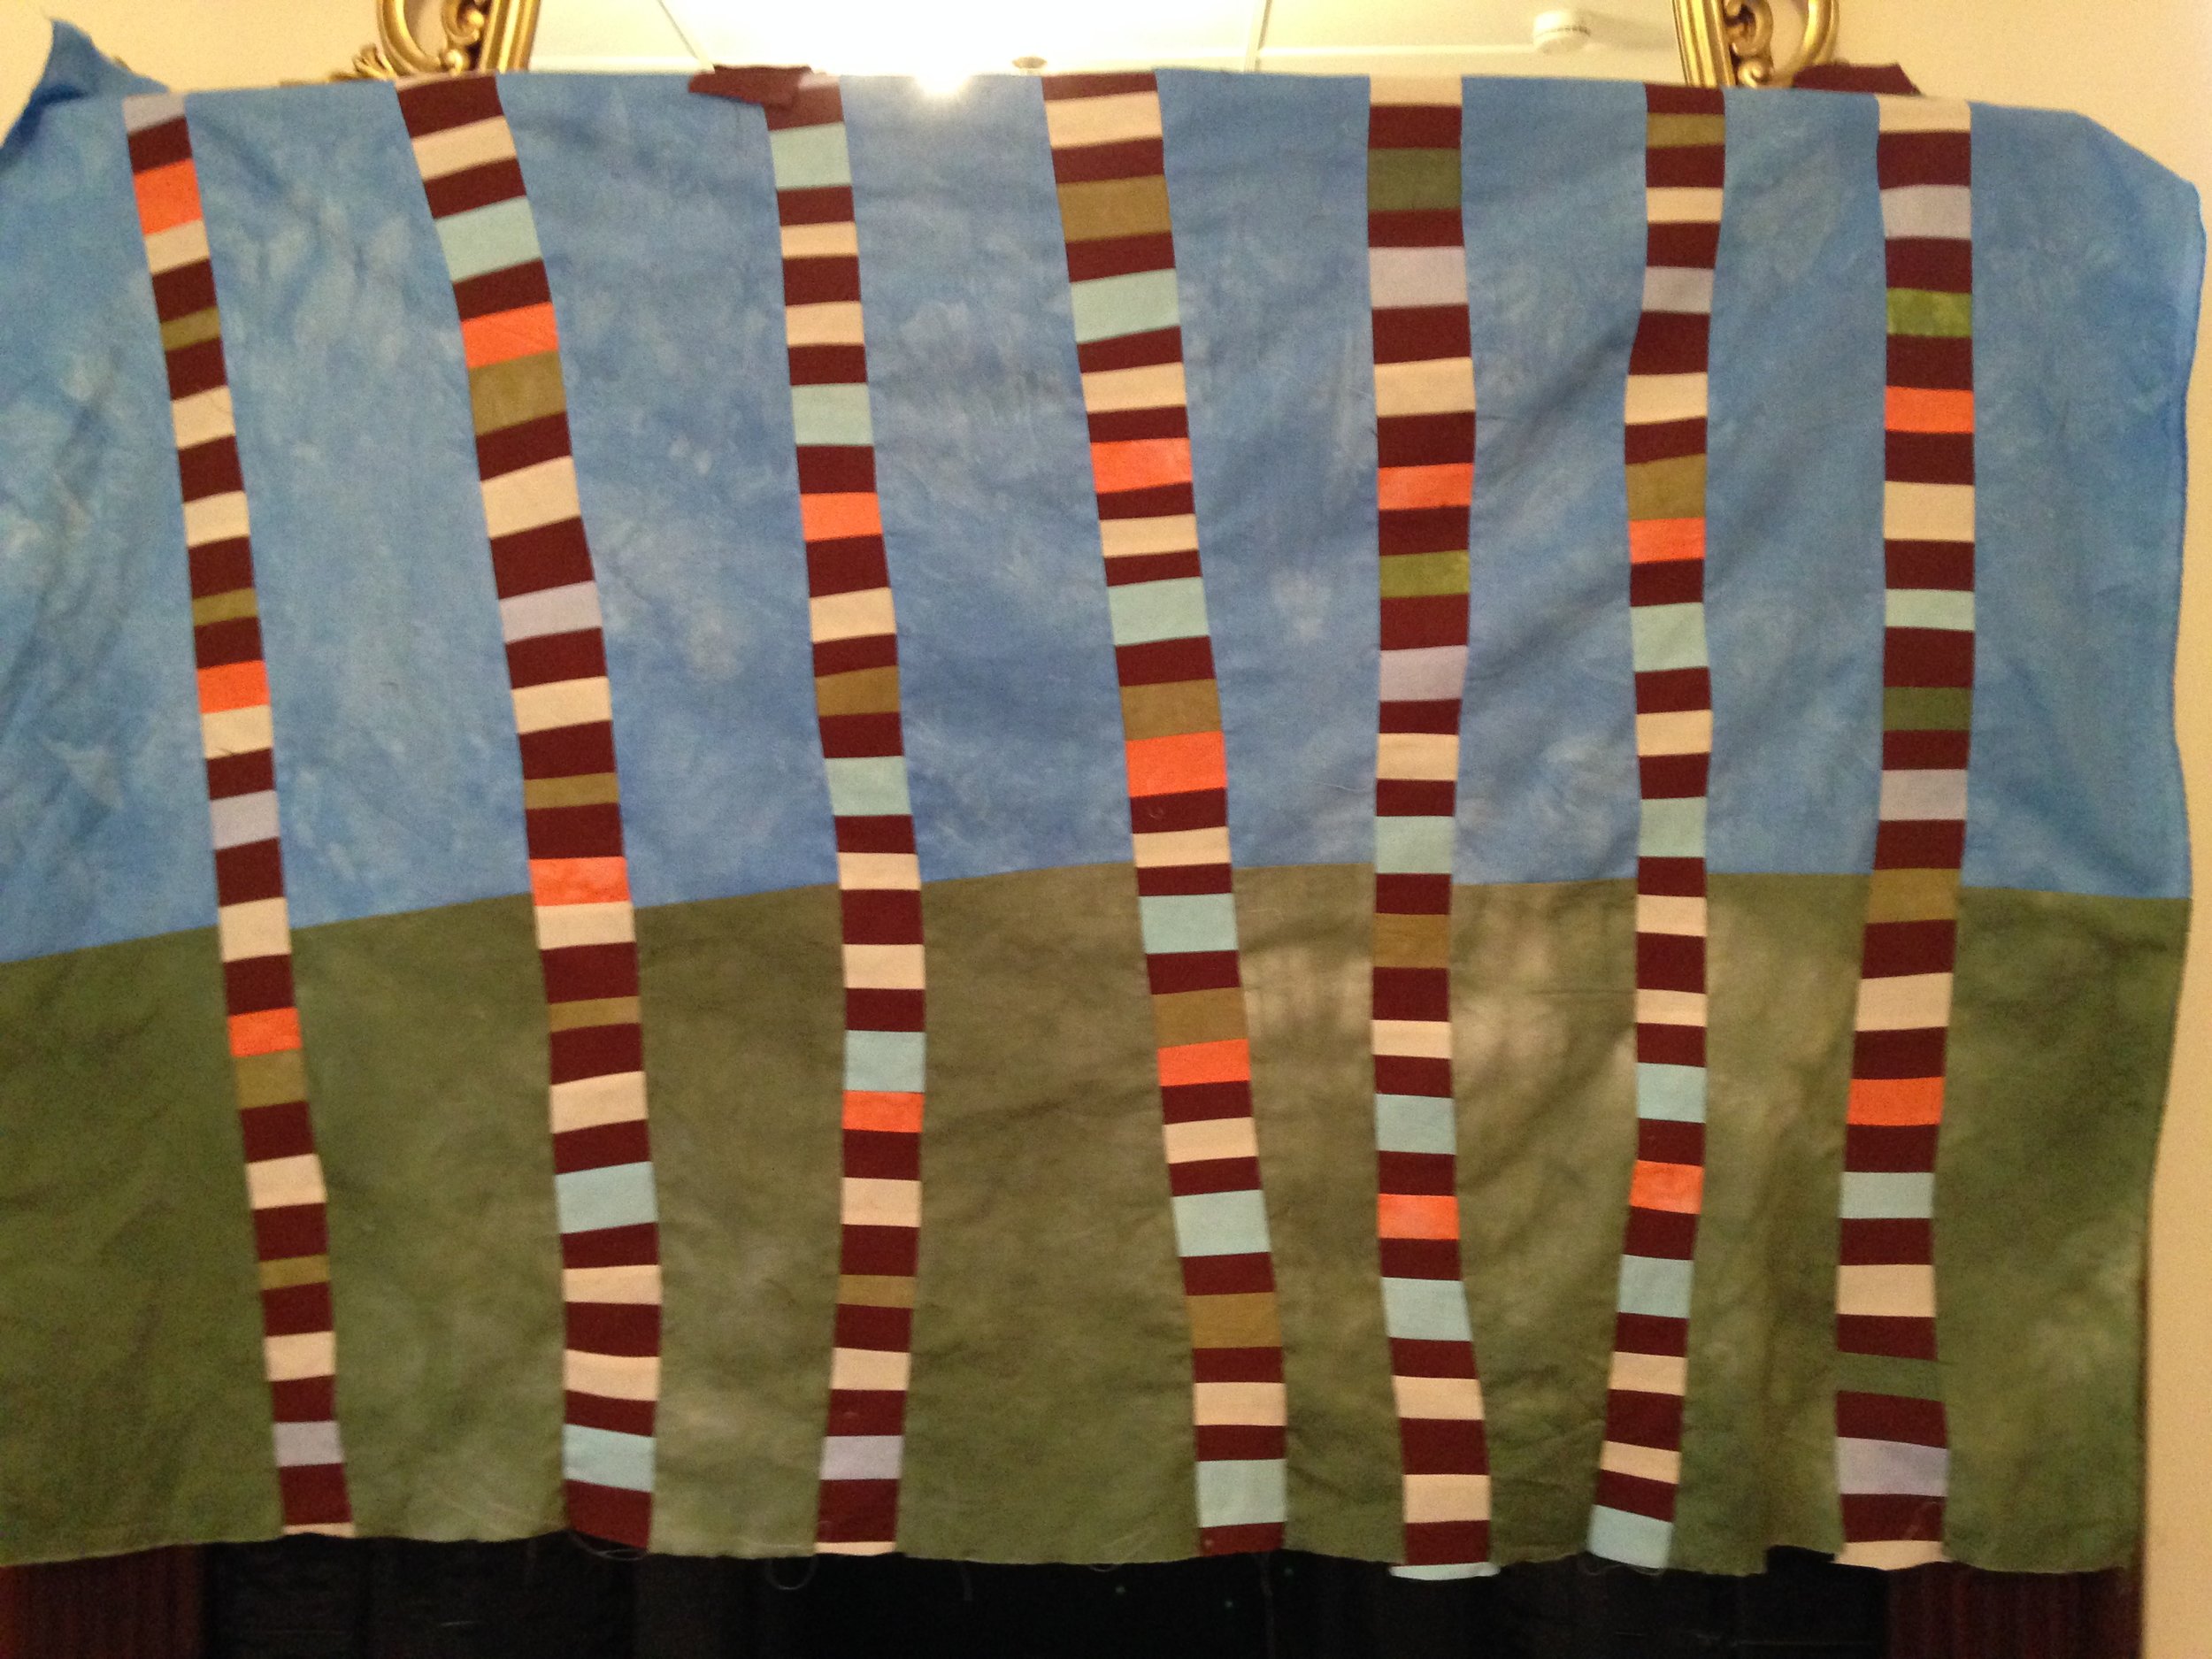
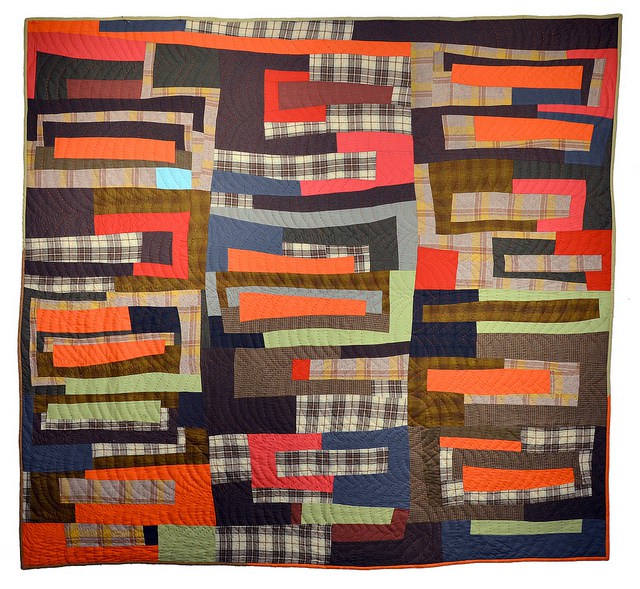
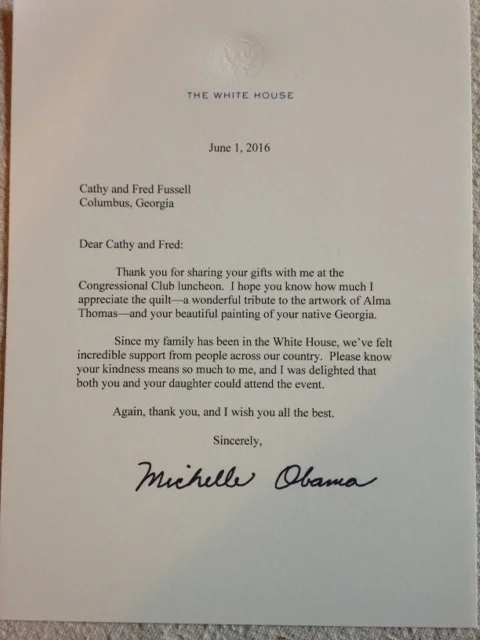
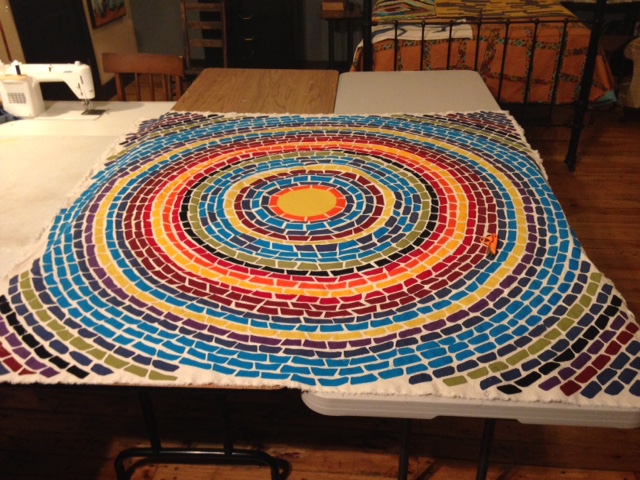
I was hoping that the gifts -- my quilt, B.J.'s portrait, a piece of Alma Thomas ceramic work given by Thomas's great-nephew Charles Lewis -- would be displayed and presented directly to the First Lady. But that was not the case. They were announced, though. And a photo of my quilt was displayed on the tv screens that surrounded the room! There it was! For about five seconds.
The other highlight of the luncheon was Mrs. Obama's speech. Within seconds of her assuming the podium she had established rapport with the audience. Her speech was indeed wonderful -- in its content, its delivery ... By this time I was on total sensory overload and can't remember the whole speech, but I do remember that the most significant part of it, to me, was when she pointed out to all those Congressional and other governmental spouses there that "we" -- she included herself -- as spouses, are in positions that allow us, if we will, to temper some of the contentiousness that dwells in politics today. She said it much more eloquently than I just did.
At the conclusion of the First Lady's speech, we were treated to performances by three musicians, two of whom, at least, are Grammy Award winners and also Georgians -- Tasha Cobbs (gospel), Monica (pop), and a young man who sang and danced but whose name I did not catch. The printed program indicates that Timbaland performed, but I know what Timbaland looks like, and that was not Timbaland. At any rate, the young man was a fine performer and had us on our feet. All three of the performers were outstanding. Mrs. Obama was up there at the head table rockin' out!
The entertainment over and the audience in high gear, Mrs. Bishop again assumed the podium, thanked her committee members, and concluded the ceremony. We were all asked to remain in our seats until Mrs. Obama was escorted from the room, which, of course, we did.
Once the ceremony was over and we were able to stand and socialize, it was obvious that we were all absolutely giddy. At least, the Georgia delegation surely was! Mrs. Obama had indeed lit up the room. What had started out as an interesting but little bit confusing "dress up party" had turned into a tremendous celebratory event of which we Georgians can be proud.
Oh, I need to say somewhere in here that, unlike most banquets I've ever attended, the food was great! The menu featured Georgia products -- you know -- peaches, pecans, blueberries, Vidalia onions, chicken, sweet potatoes, corn ... Really good, well-prepared food.
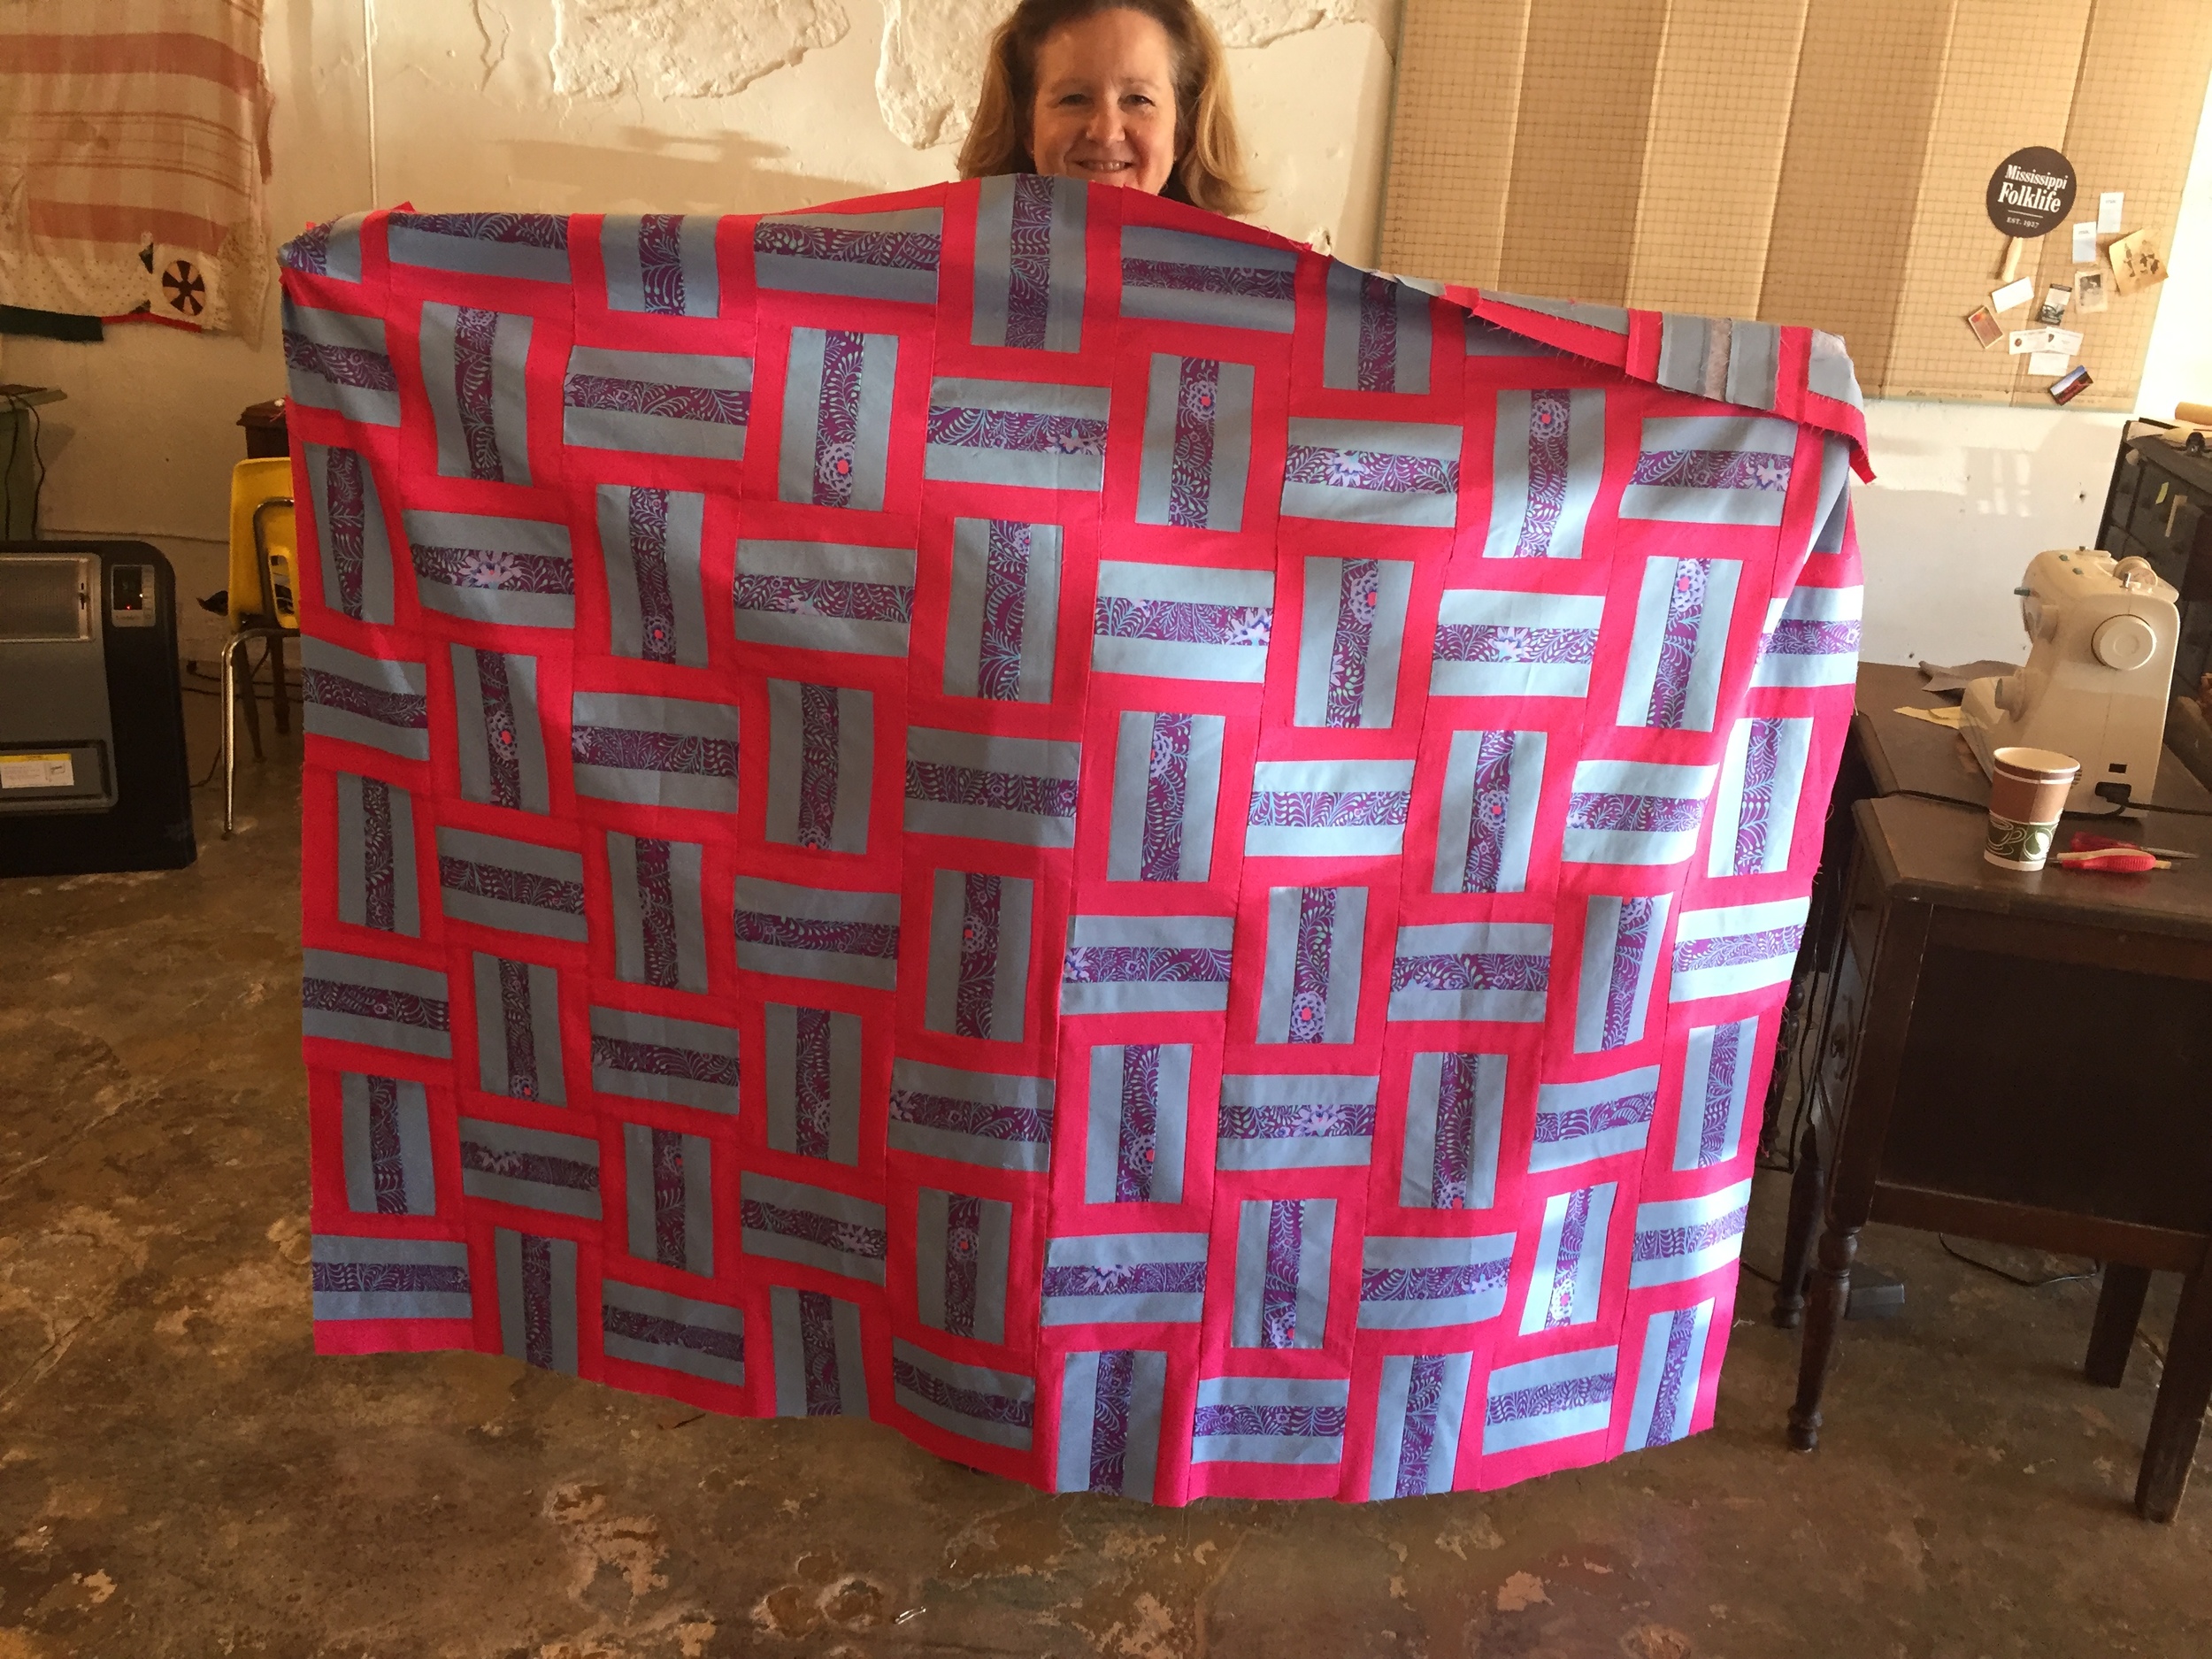
Okay -- I'll hush and show you a couple of photos. Our official photo has not yet arrived in the mail, and I fear that it may be lost -- but here's one that somebody took as our official photo was being shot. I'm the shortest one in the group, in an aqua blouse. Apologies for that pinched expression on my face. I don't know what was up with that. And my hair -- well, I don't know what happened with that, either.